Makes one 3-tier 9 x 5.5 in cake
Cake Ingredients (slightly modified from this recipe):
- 3 cups flour
- 3 cups sugar
- 1 1/2 cups cocoa powder
- 1 tbsp baking soda
- 1 1/2 tsp baking powder
- 1 1/2 tsp kosher salt
- 2 tsp espresso powder
- 4 eggs
- 1 1/2 cups buttermilk
- 1 1/2 cups warm water
- 1/2 cup canola oil
- 2 tsp vanilla extract
Frosting Ingredients (I doubled this recipe to have enough frosting):
- 3 cups butter at room temperature (I used salted)
- 1/2 tsp kosher salt
- 8 cups powdered sugar
- 2 tbsp vanilla extract
- 2 tbsp cream (can use dairy-free cream)
- 100 drops Yellow food coloring
- 2 drops Orange food coloring
Decorations:
- Candy legos
- Black and white fondant
- Betty Crocker cookie icing
Instructions:
- Preheat the oven to 350 degrees
- Take out some parchment paper, set one of your 9″ cake pans on it, and trace the outline of the pan on the parchment paper. Repeat two more times so you have 3 circles on the parchment paper
- On each circle, draw two rectangles along the edge on opposite ends of each other. These little rectangles will serve as “tabs” to help you pull out the cake once it’s cool
- Cut out your circles with the tabs
- Spray each cake pan with non-stick spray, and place your parchment circle in the pan. Set aside
- Using a stand mixer or a large mixing bowl, add all of your dry ingredients and mix lightly to combine
- Add the wet ingredients slowly (or you’ll have chocolatey water go everywhere) and mix until it’s all combined. Note that it will seem pretty watery — that’s normal
- Pour about 3 to 3.5 cups of batter into each cake pan
- Place the cake pans in the oven and bake for 30-35 minutes (insert a toothpick in the middle and if it comes out clean, the cake is done)
- Place the pans on a cooking rack and let them cool for 20 minutes
- Remove the cakes from the pan and set on the cooling rack to continue cooling.
- If you want them to cool quicker, wrap each cake in saran wrap and place in the fridge. I left the saran-wrapped cakes in the fridge overnight and decorated the next day
- Now time to make the frosting! I would split the recipe in two batches
- Using a stand mixer or a large bowl, cream the butter until smooth
- Add the powdered sugar one cup at a time and mix until combined
- Add the salt, vanilla extract, and cream and mix to combine
- Add the food coloring and mix to combine
- Roll out some saran wrap, and spoon out the frosting onto the saran wrap. Roll it up like a piece of candy, so that the frosting is contained, and then cut one of the ends off
- Cut the corner of a large gallon back, place a piping tip in that hole, and add the saran-wrapped frosting, cut side down, in the bag. You can also using an actual piping back, but my piping tip was too big personally 🙂
- Take your cakes out of the fridge or off the cooling rack (make sure they’re completely cool), take a knife and shave off the rounded tops of the cakes to make the top as flat as you can.
- Get a cake board (something like this) and add a small dollop of icing in the center of the board
- Place one of the cakes on top of the board, and using your piping back/gallon ziplock frosting bag, add a layer of frosting to the top of the cake
- Repeat for the other two cakes (this process should use most if not all of your first batch of frosting)
- Make your second batch of frosting, and repeat steps 18 and 19)
- Pipe a layer of frosting on the outside of the cake
- Using an icing smoother (like this), smooth the frosting along the cake. Add additional frosting where needed and keep smoothing it out until you’re satisfied.
- Add a small layer of icing along the perimeter of the cake on the cake board
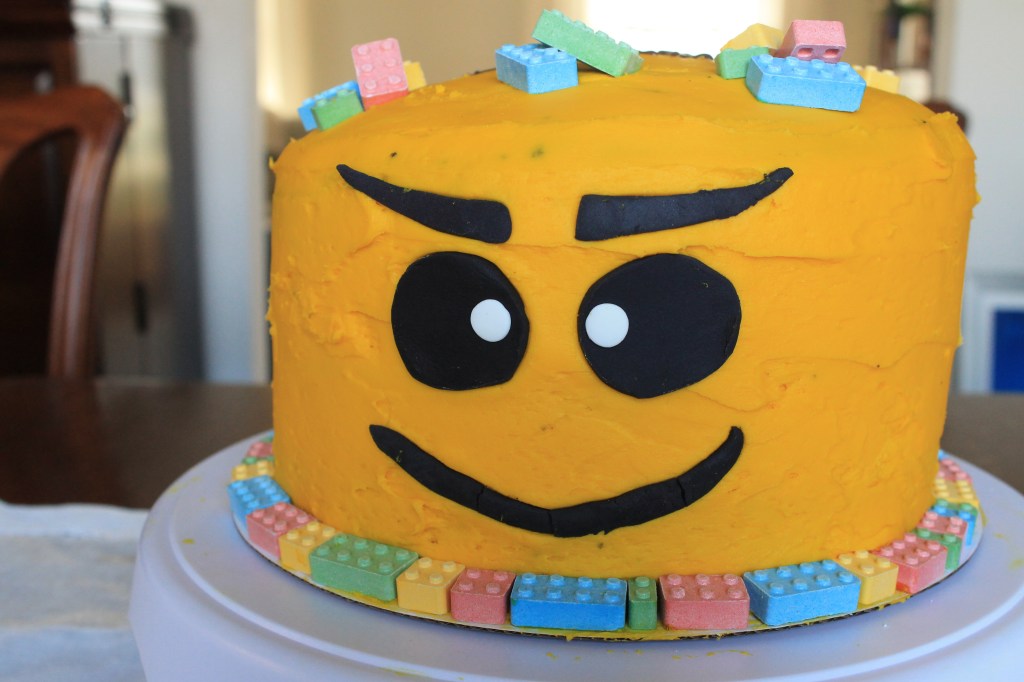
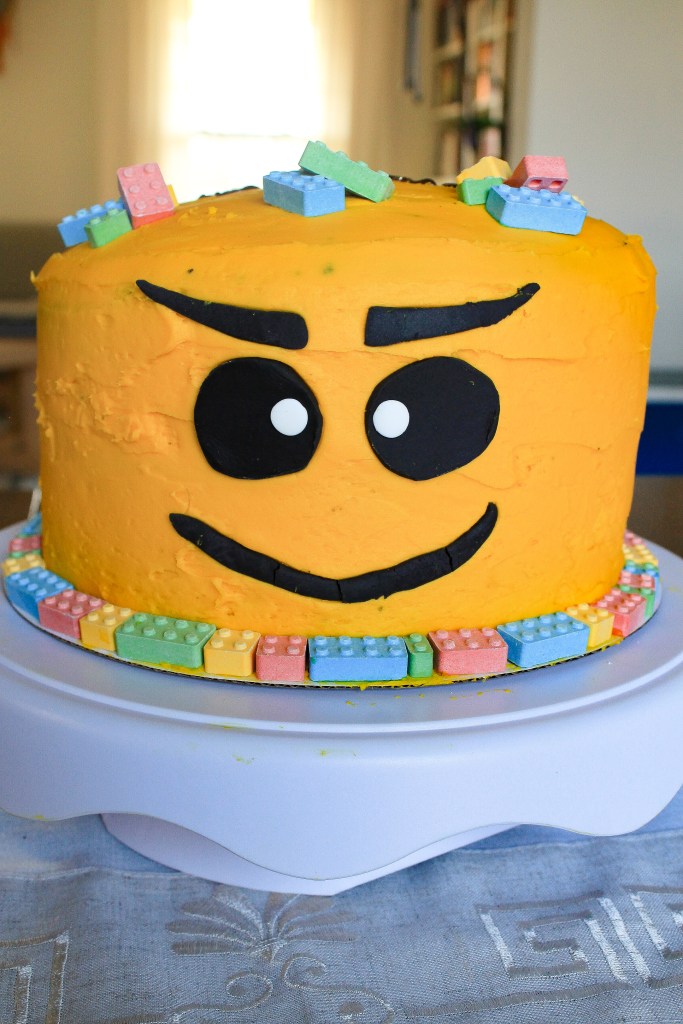
- Take your candy legos, and place on that small layer of frosting until you have a completed circle
- Now to make the face! Roll out your black fondant
- Cut two larger circles for the eyes, two eyebrows, and a smile
- Roll out the white fondant and cut out two smaller circles
- Place the white circles on the black circles and then take all of your pieces and place on the cake to make a face
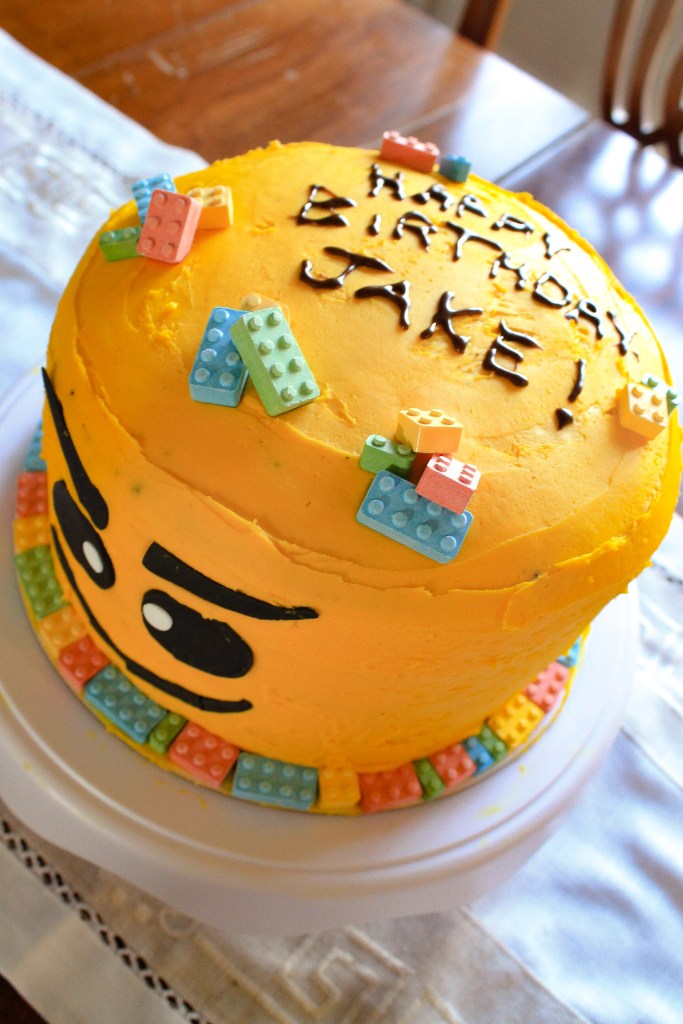
- Add more lego pieces to the top of the cake in however way you want
- Using the Betty Crocker cookie icing, write your message on top and enjoy!
HOW CUTE IS THIS LEGO CAKE?! It would be an understatement to say how proud I am with how this turned out. I’m usually not one for decorating cakes. They always end up tasting good, but they always look like a kindergartener tried their hand at decorating. It has never been my strength. So when our dog-walker asked if I could make his birthday cake, I asked if him if he was absolutely sure and if he wasn’t, I could point him towards one of my friends who ACTUALLY has a small baking business. He said he was sure, gave me a photo of what he was thinking, and I said okay! I had about 2 weeks to work on it.
So I used that time to do some research to prevent my previous mistakes (cakes sticking to the pan, frosting too quickly, etc.), ordered a cake turntable, a smoother, and a larger piping tip, and planned ahead to spread it out over the course of two days.
I know the instruction list for this is a doozy, but making a 3-tier cake is definitely a process, and I wanted to put every step out there! The biggest thing for me was making sure the cakes were completely cooled so they didn’t crumble when I tried to frost it. I also looked up recipes because this was one I didn’t necessarily want to go rogue with experimenting and found a chocolate cake recipe that was PERFECT (I just modified it a little bit) from The Stay at Home Chef and a perfect buttercream frosting recipe from My Baking Addiction (both are linked in the recipe section). The cake comes out perfectly moist and the frosting is airy and spread easily along the cake!
This cake will fit in a 12x12x6″ cake box that you can get at Party City, Amazon, or Michaels. I left it for my dog-walker to pick up before his party a day later and wow was he thrilled (which is truly the greatest feeling)! He said that he even thought it was better than the inspo photo he gave me and was so happy with the result. He also gave 5 star reviews from the party regarding taste, so I think it’s a win across the board.
Now, if you loved this, come back in June when I attempt to make a Pokemon cake for my husband 🙂

